

Authentication and application lifecycle
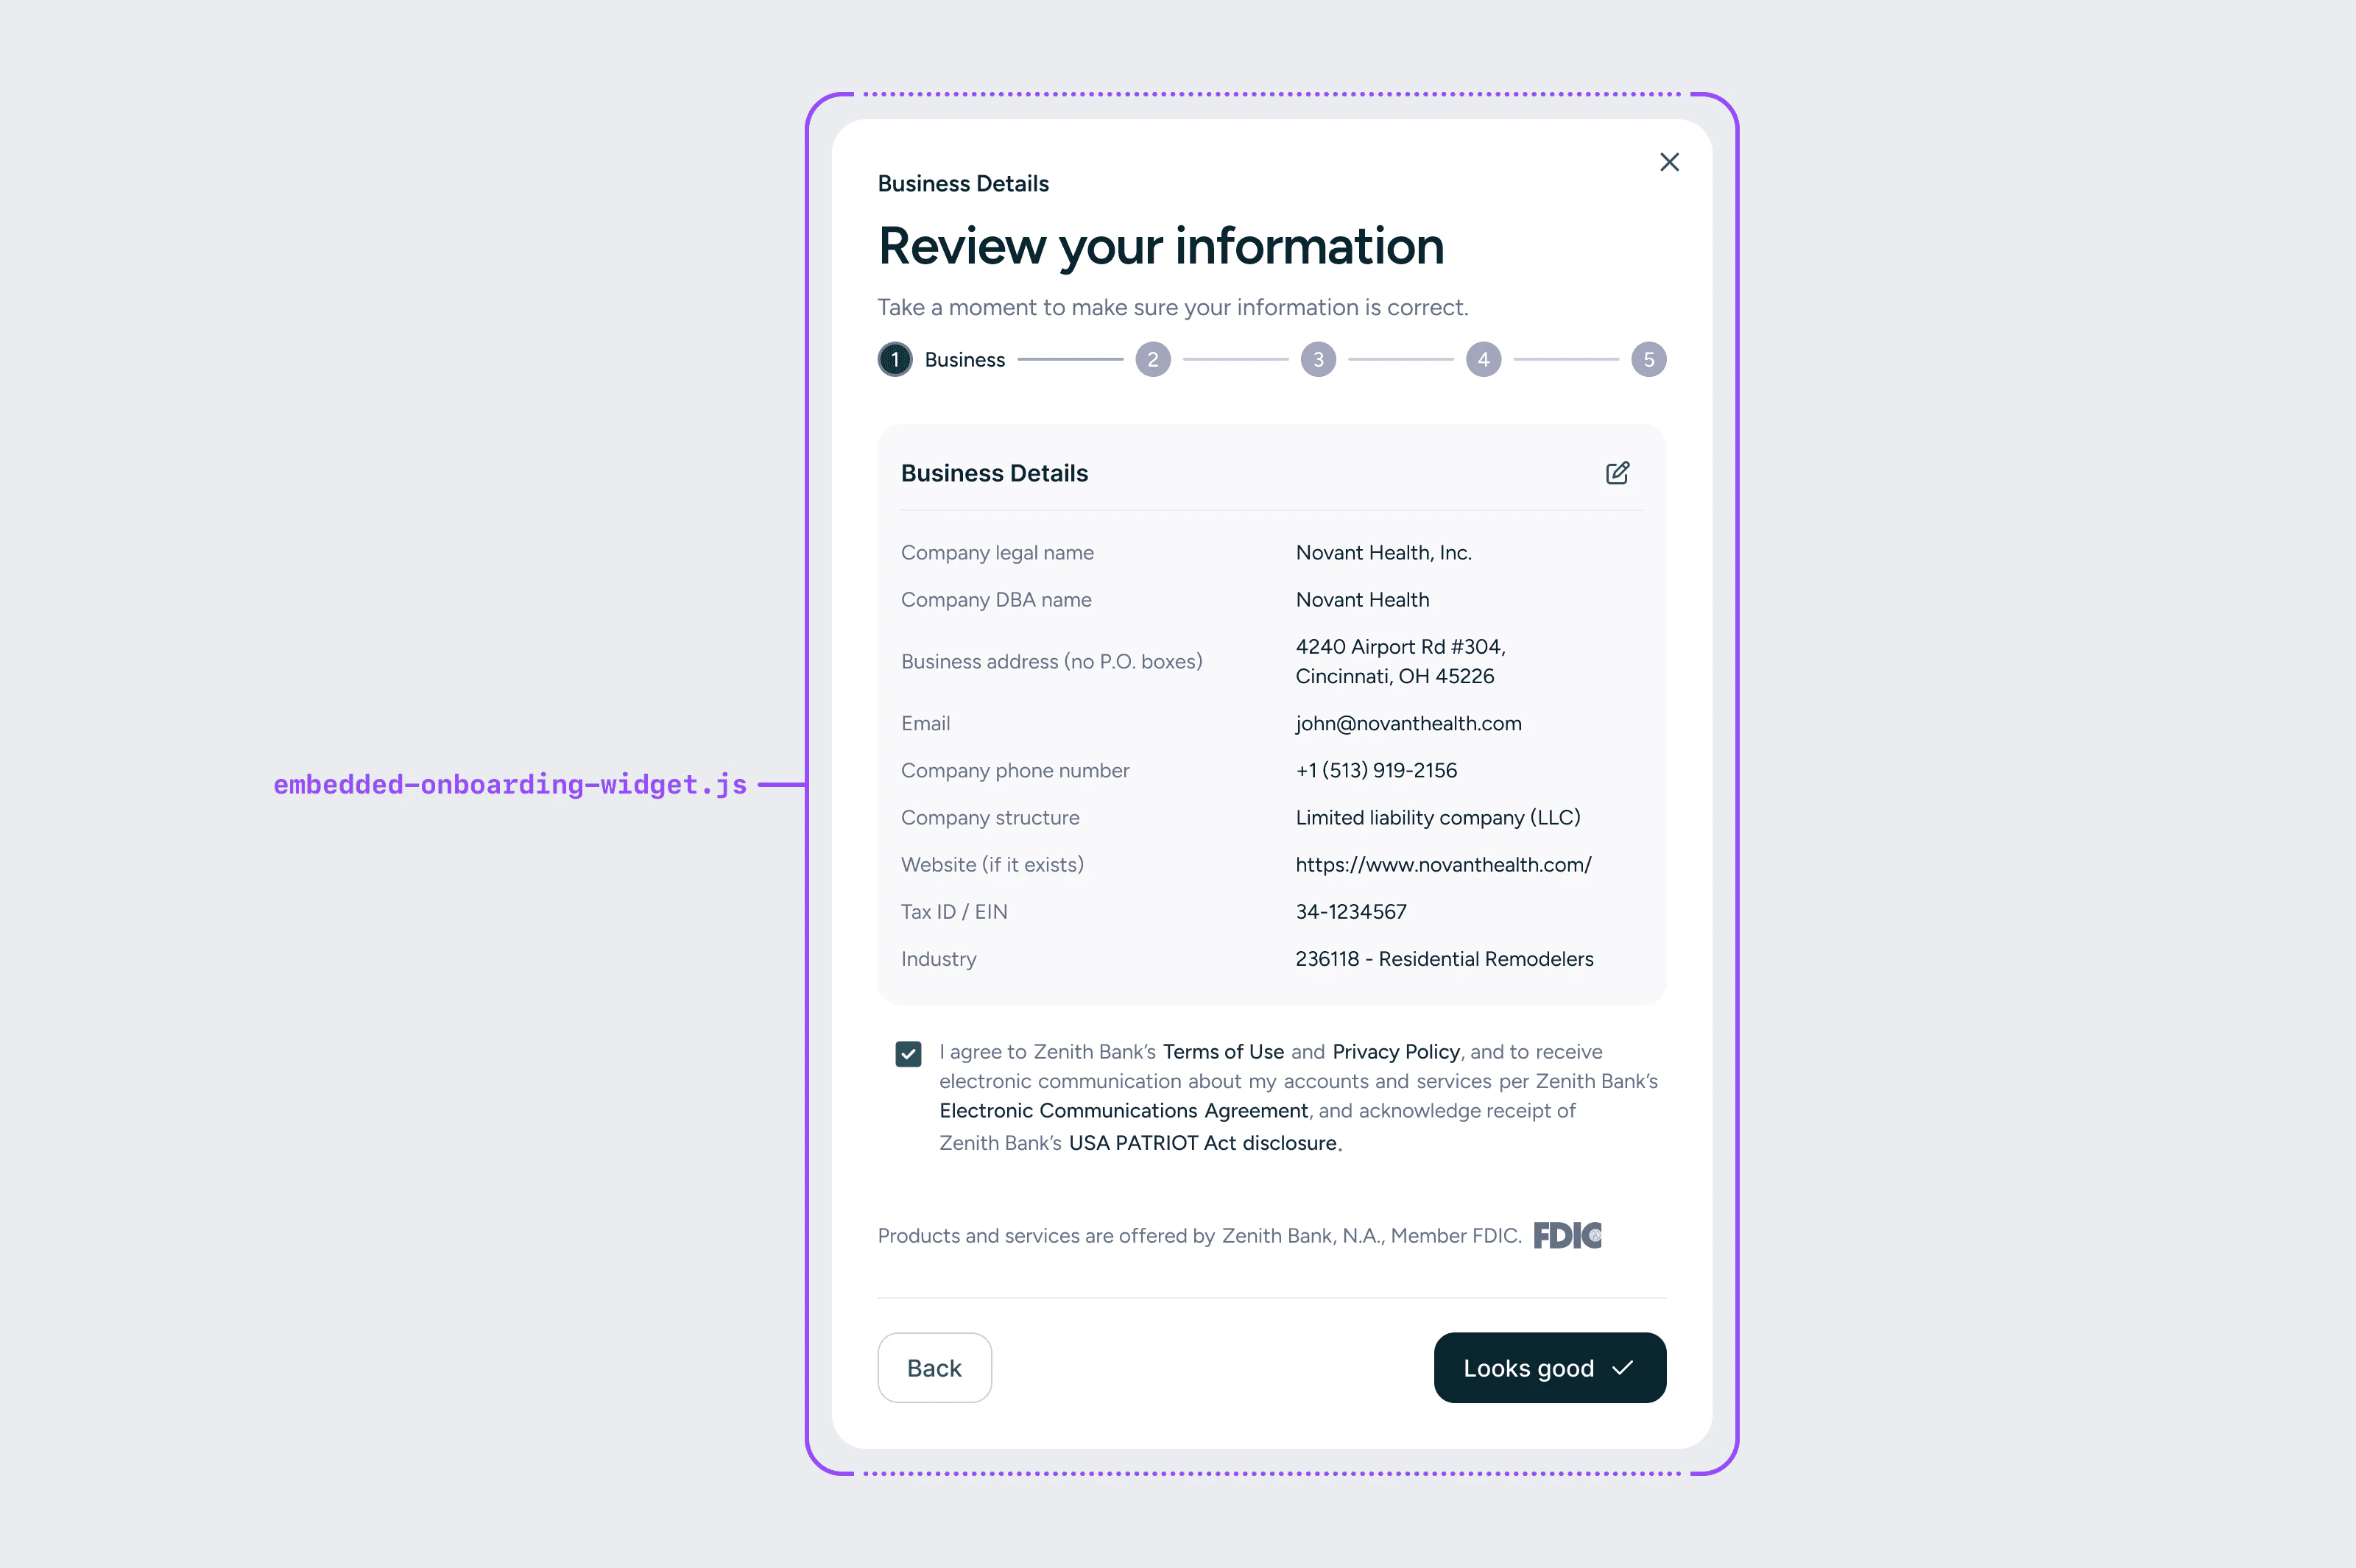
The onboarding widget authenticates against a single bank account application using a short-lived application client secret, not a backend bearer token. Your backend creates the application server-to-server, receives the secret in the create response, and passes it to the widget so the rest of the flow — edits, verification, submission — runs in the browser. If the applicant returns after the secret has expired, your backend re-issues one through the resume endpoint and the new secret is delivered to the applicant by email. For the full sequence — states, transitions, and which auth method is required at each step — see the application lifecycle guide. There are 3 entities we need information on:- Business entity - The legal information on the business itself.
- Business controller - An individual with the power to direct, manage, or significantly influence the financial activities or policies of a business, even if they are not the legal owner (e.g. the CEO, CFO or a VP).
- Beneficial owners - A person who owns 25% or more of the company’s ownership interests (directly or indirectly).
A business may have between zero and 4 beneficial owners.
Pre-filling data fields in the onboarding form
The following data fields are required for onboarding. If you already store any of these fields, you can pass them in to the flow in your code that invokes the onboarding widget and they will be pre-filled in the UI. Users always have the ability to edit any pre-filled fields. See the code snippet below for details on the structure of these objects in your HTML.Returning your user to the right place after onboarding
At the end of the onboarding flow, our modal can present the user a button to navigate to the banking section of your dashboard. You can pass in the location of the banking section of your dashboard using thedata-banking-dashboard-href parameter.
Onboarding statuses
There are three potential outcomes of the application submission:- Instant Approval - In this case the user can immediately view the banking dashboard and start using the account.
- Manual Review - Some applications may require more time by the bank to review the information for accuracy, in which case the user will be informed via email when their application is reviewed.
- Denied - In rare cases, an application could be denied if it appears fraudulent or too risky for the bank to take on.