Overview
Tesouro provides a full-featured web component for organization onboarding that you can embed into your applications. It allows your customers to complete payments onboarding without leaving your application. The onboarding component uses Tesouro API to fetch the onboarding requirements and generates a multi-step interface where the users can fill in all the necessary information required for the organization to make or receive payments via Tesouro payment rails.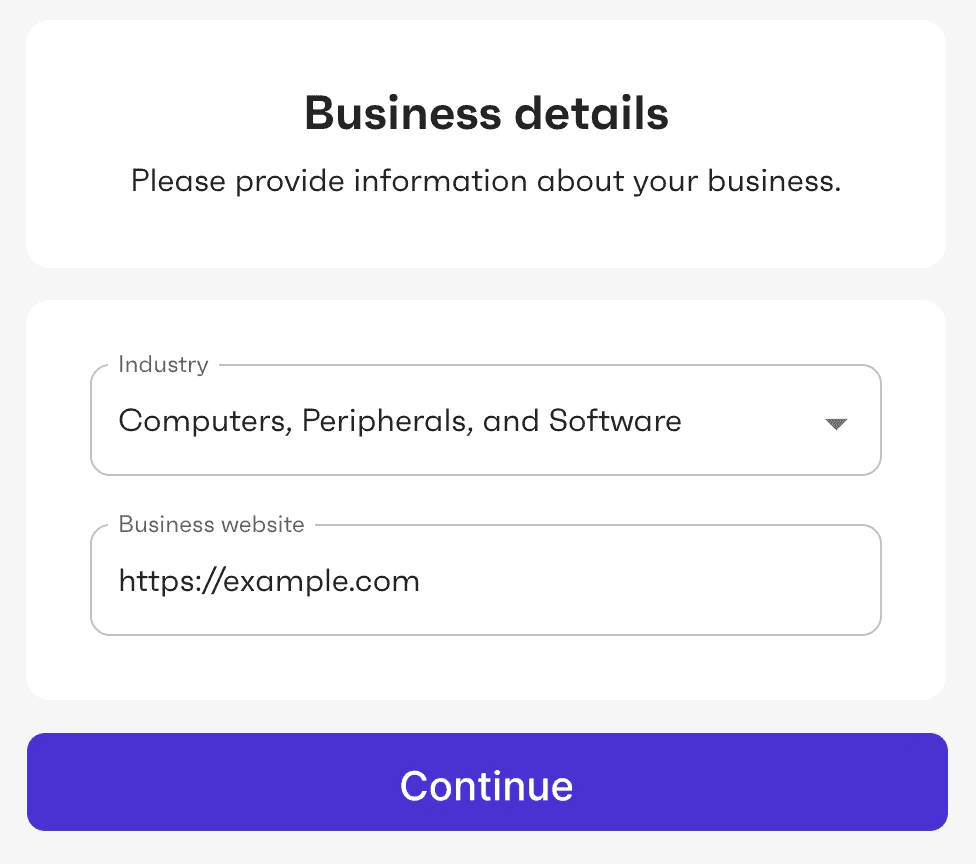
Flow diagram
The following diagram shows a typical way to implement the payments onboarding flow by using Tesouro’s Onboarding Web Component.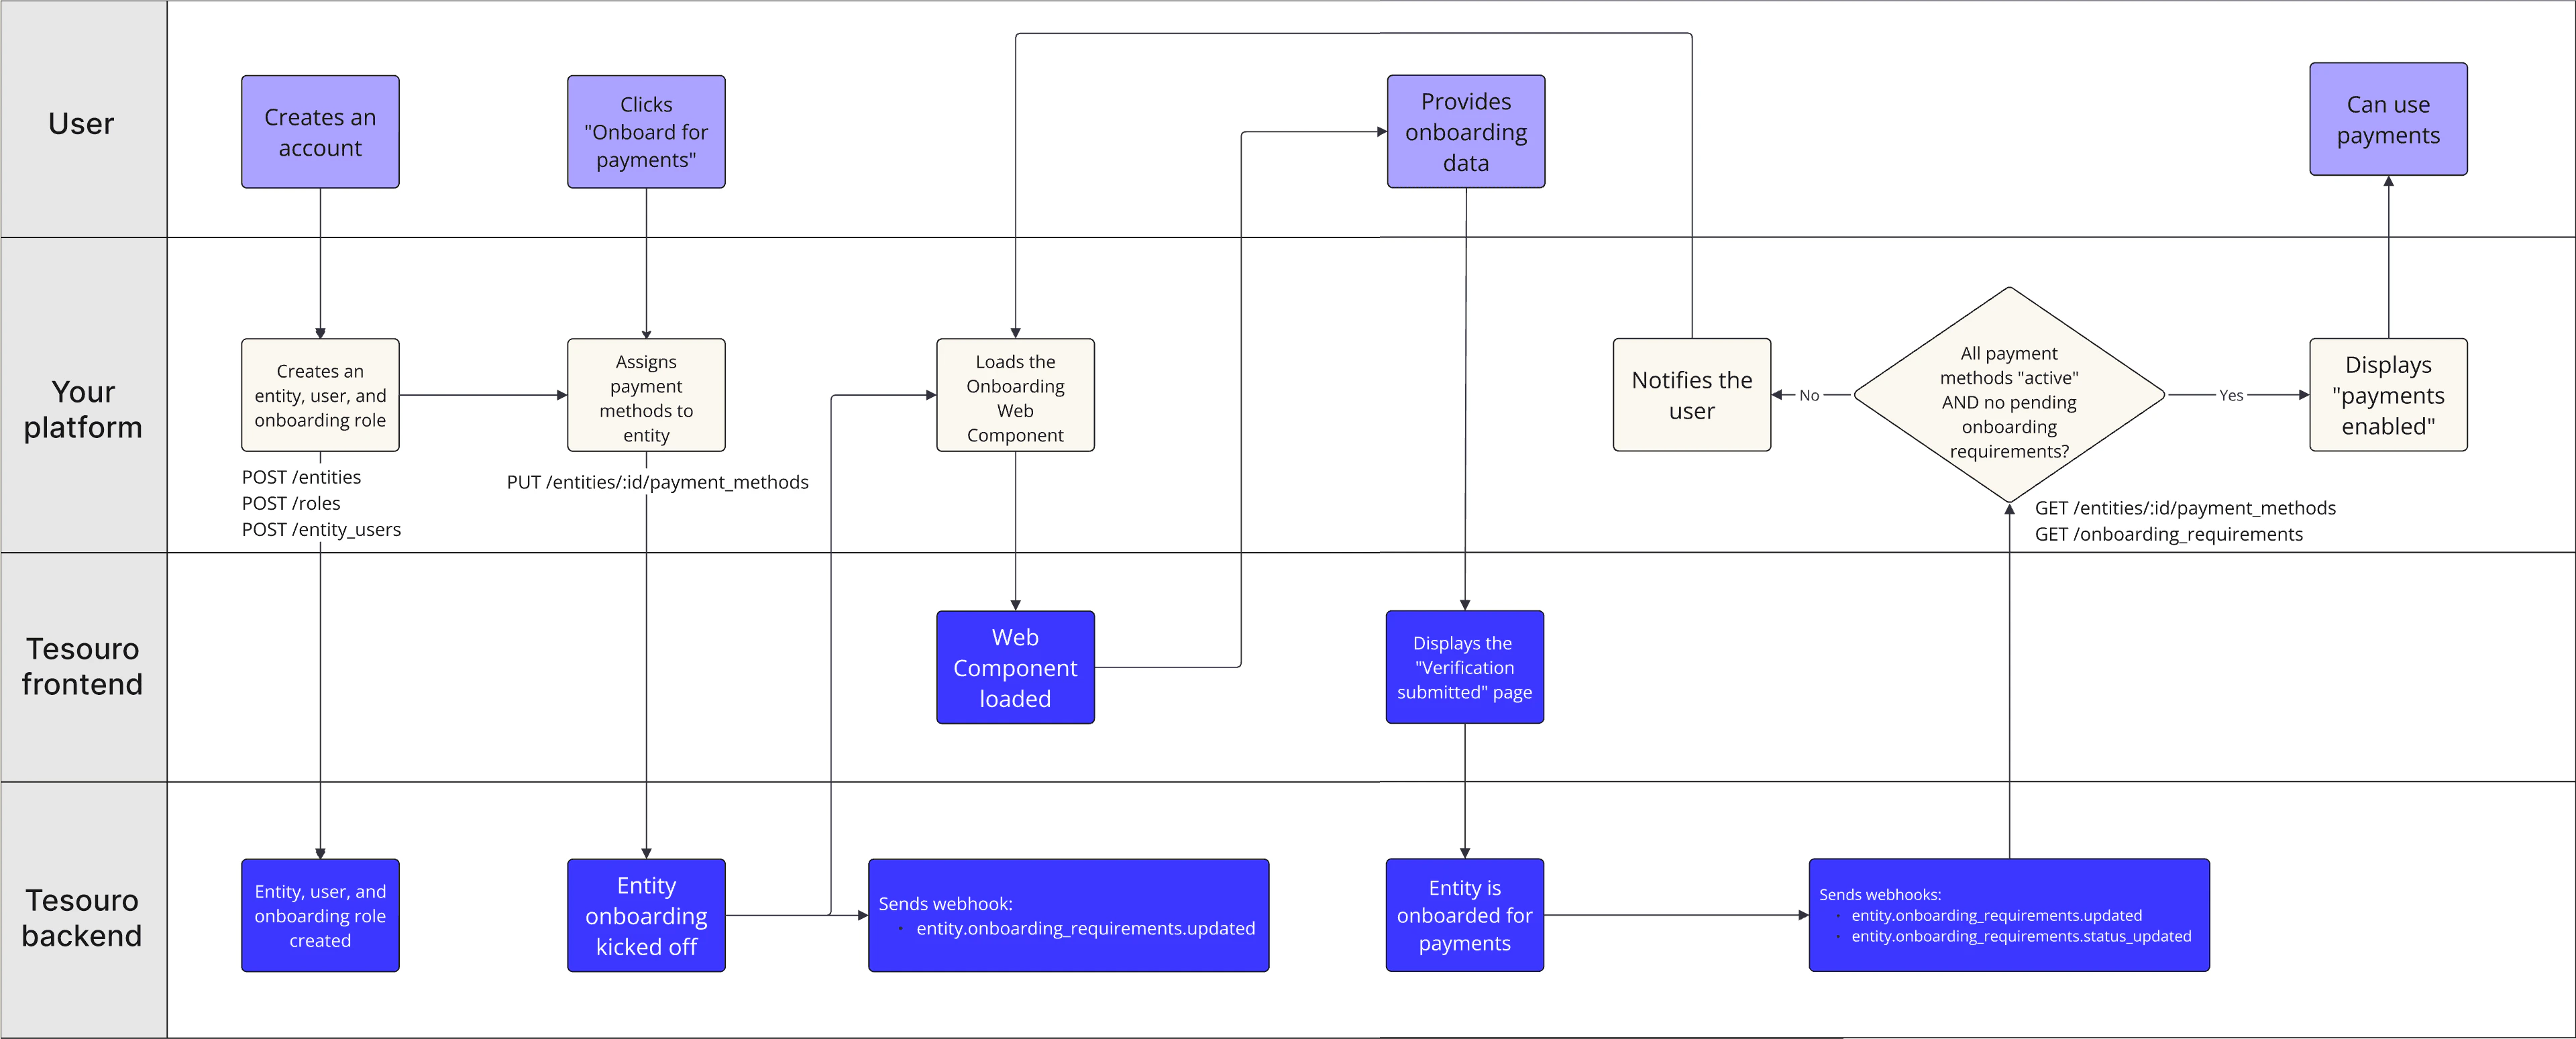
Usage
1. Create an organization
This guide assumes that the organization to be onboarded must have already been created in Tesouro. To learn how to create organizations, see Organizations. There is no need to create organization bank accounts or persons in advance - the Onboarding Web Component itself will collect this information for you. However, if you have already collected this information upfront (for example, during the organization registration flow in your application), the Onboarding Web Component will skip the corresponding steps.2. Create an organization user and role for onboarding
The Onboarding Web Component requires an organization user’s access token for authentication. This means that at least one user must have been created for the organization. This user can be, for example, the business owner or an authorized representative. To learn how to create organization users, see Organization users. The user’s role must include the following permissions required to provide the onboarding information:organization:readandupdateentity_bank_account:create,read,update,deleteonboarding:create,read,updateperson:create,read,update,delete
User role JSON
User role JSON
3. Enable payment methods for the organization
The next step to is to specify which payment methods the organization is going to use. Payment methods determine which information the organization needs to provide to complete its onboarding. For more information, see Enable payment methods for an organization.4. Display the Onboarding Web Component
The way you can embed the onboarding component into your application depends on whether you use Tesouro React SDK or Drop-in library.5. Track the onboarding status
After the organization user has filled in the information requested by the Onboarding Web Component, Tesouro sends theorganization.onboarding_requirements.updated and organization.onboarding_requirements.status_updated webhooks to your server. You can then check the organization’s onboarding status by calling GET /onboarding-requirements.
In a success scenario, the verification_status for each payment method will be "enabled".
If the response from GET /onboarding-requirements indicates any pending onboarding requirements or verification errors, you can inform the user and repeat the onboarding process to collect the missing information.
Customization
The Onboarding Web Component supports theming and customization. For more information, see:User interface
The onboarding UI provided by the component includes several steps. The steps vary depending on the organization type - organization or individual. Some steps and input fields may be hidden if the necessary information has already been provided for the organization (for example, previously provided via API).Company details
On the first screen, the user is asked to provide one or more of the following: company phone number, company tax number (if applicable), company address. This screen is not displayed if this information was already provided during the organization creation.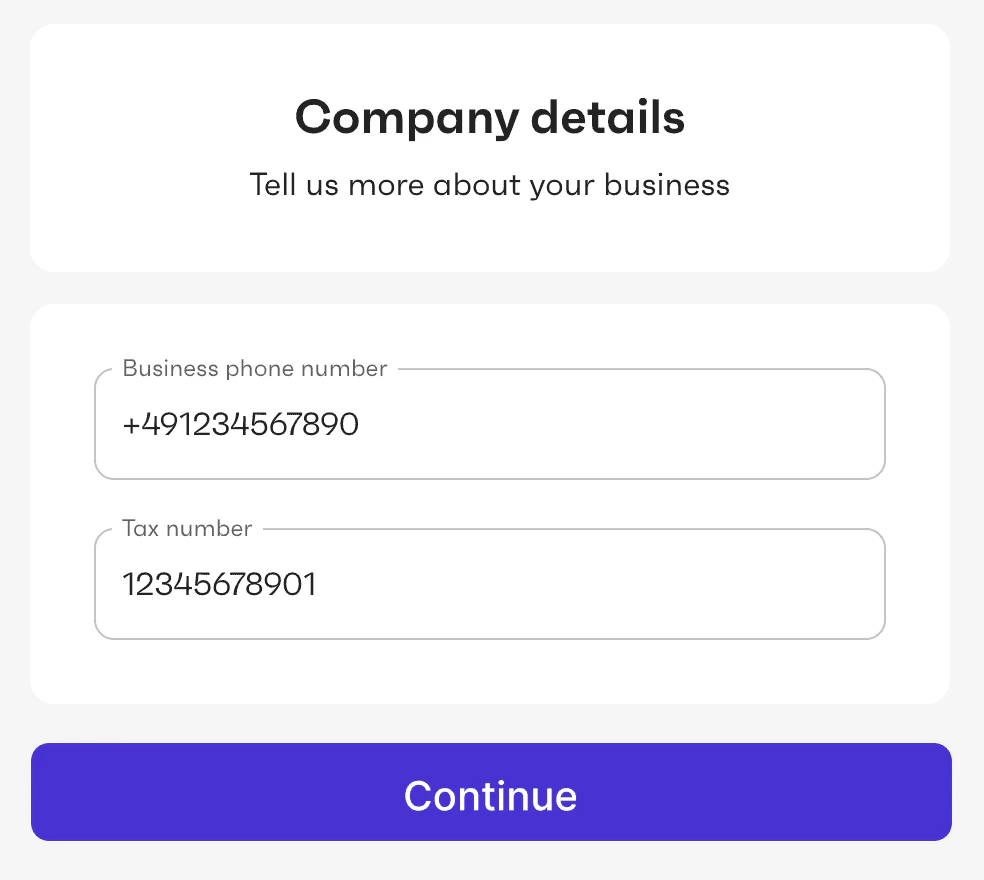
Business details
On this screen, the user is asked to specify the Industry and Website of their business.- The industry corresponds to the merchant category code (MCC).
- The website URL must include
http(s)://, for example,https://example.com.
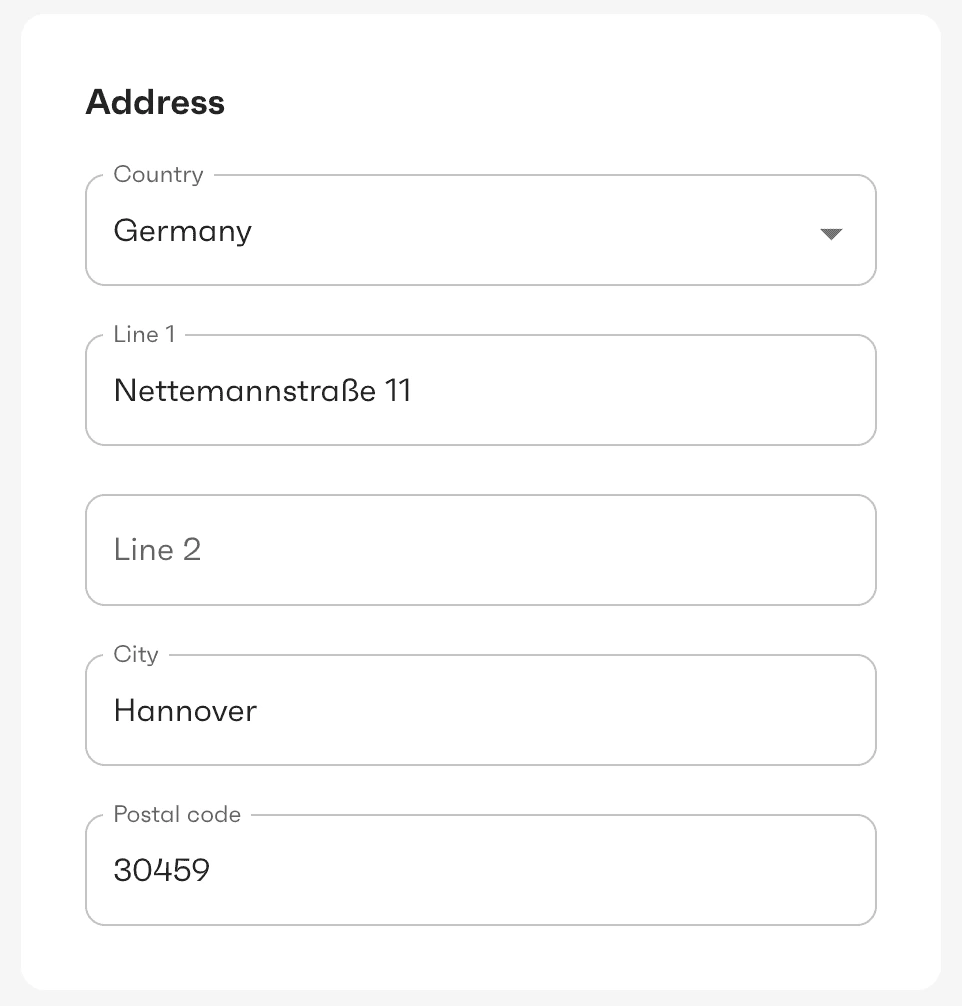
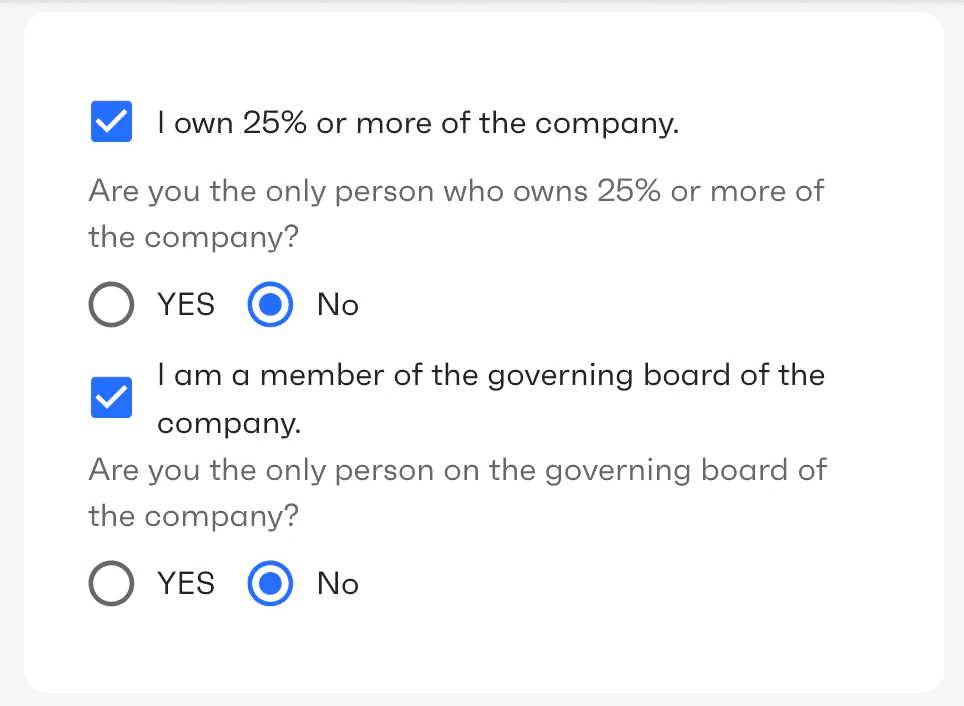
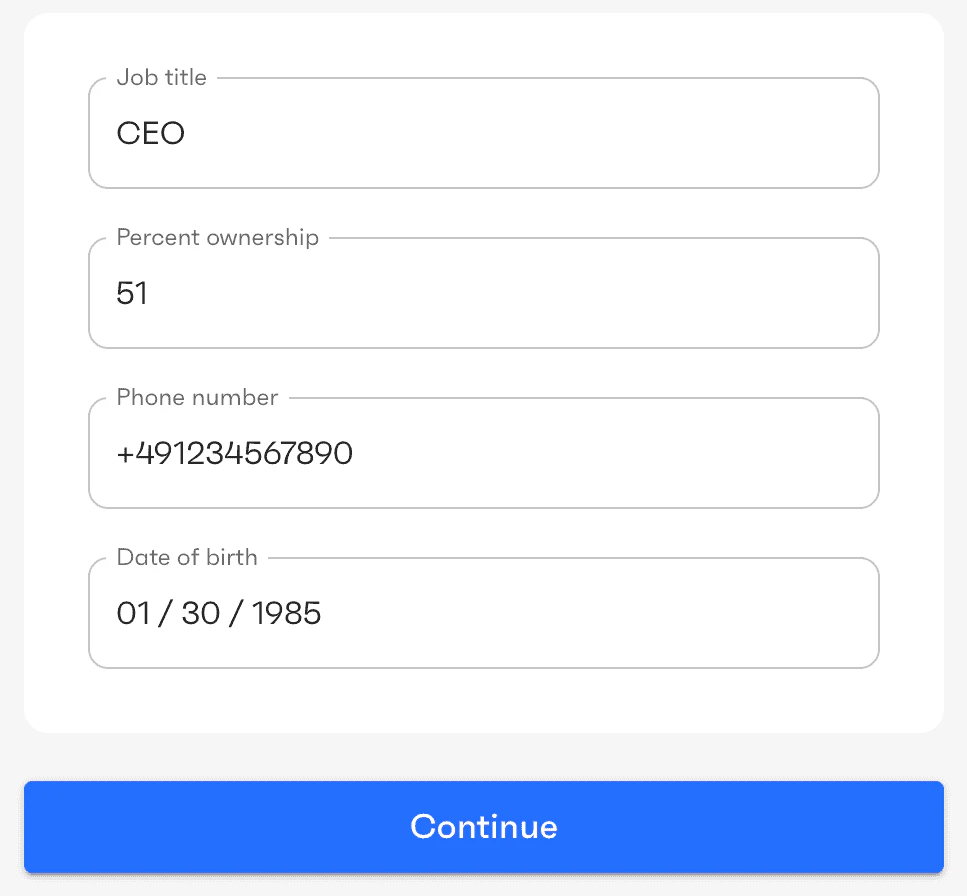
Verify you represent your business
This screen is displayed only for organizations of type “organization”. It prompts for the information about the primary owner of the business. The user needs to provide the owner’s name, date of birth, address, whether that person owns or less than 25% of the business, whether or not they are the sole owner, and other details.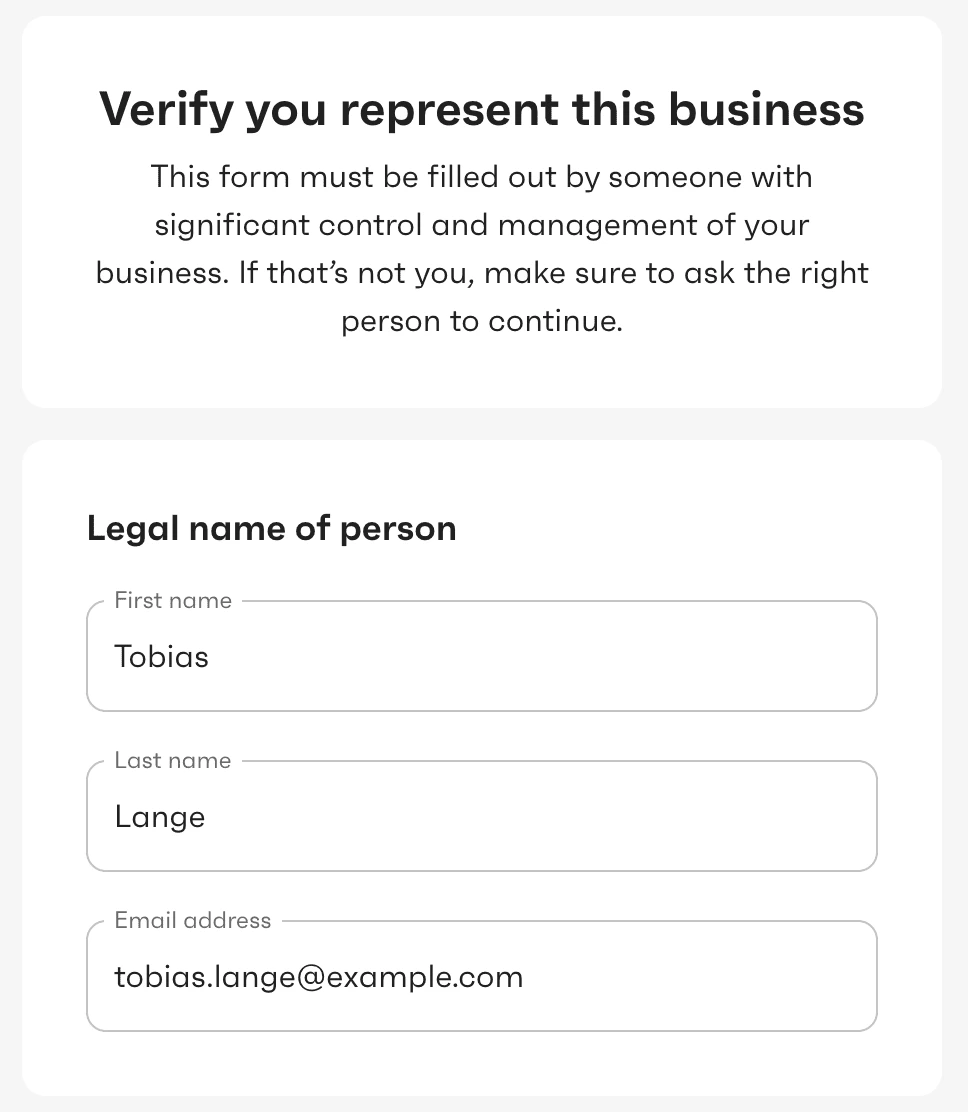
Business owners
This screen is displayed only for organizations of type “organization” and if the user specified that there are several persons who own more than 25% of the business. The user needs to provide information about other owners of the business. Owners are individuals who either own 25% or more of a company or exercise significant control over it. The latter refers to persons responsible for managing and directing the business, such as executive officers, senior managers, CEO, CFO, COO, President, Vice Presidents, and similar.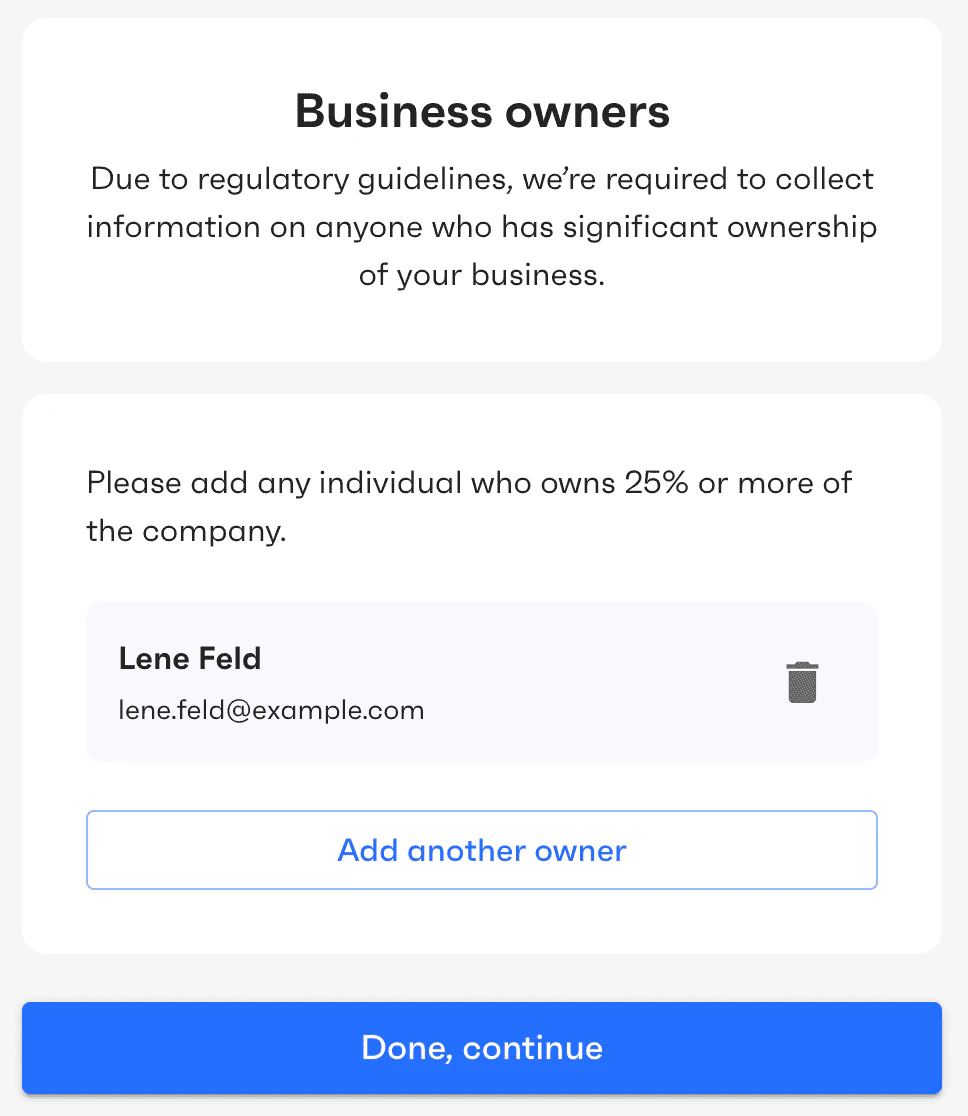
Business directors
This screen is displayed only for organizations of type “organization”. The user is asked to provide a list of the company’s directors (if any). Directors are typically members of the company’s governing board. Business owners added on the previous screen can be selected as directors if applicable.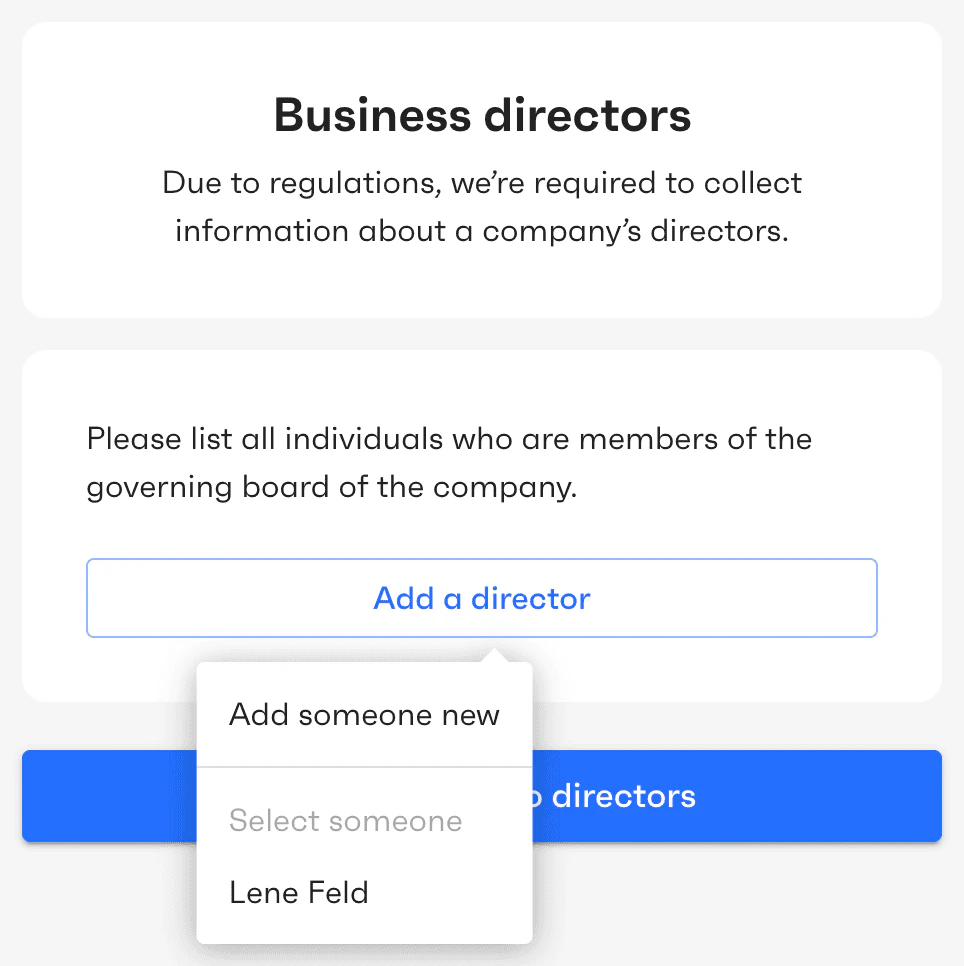
Business executives
This screen is displayed only for organizations of type “organization”. The user is asked to provide a list of company’s executives (if any). Executives are persons with significant responsibility to control, manage, or direct the business. Business owners and directors that were previously added can be selected as executives if applicable.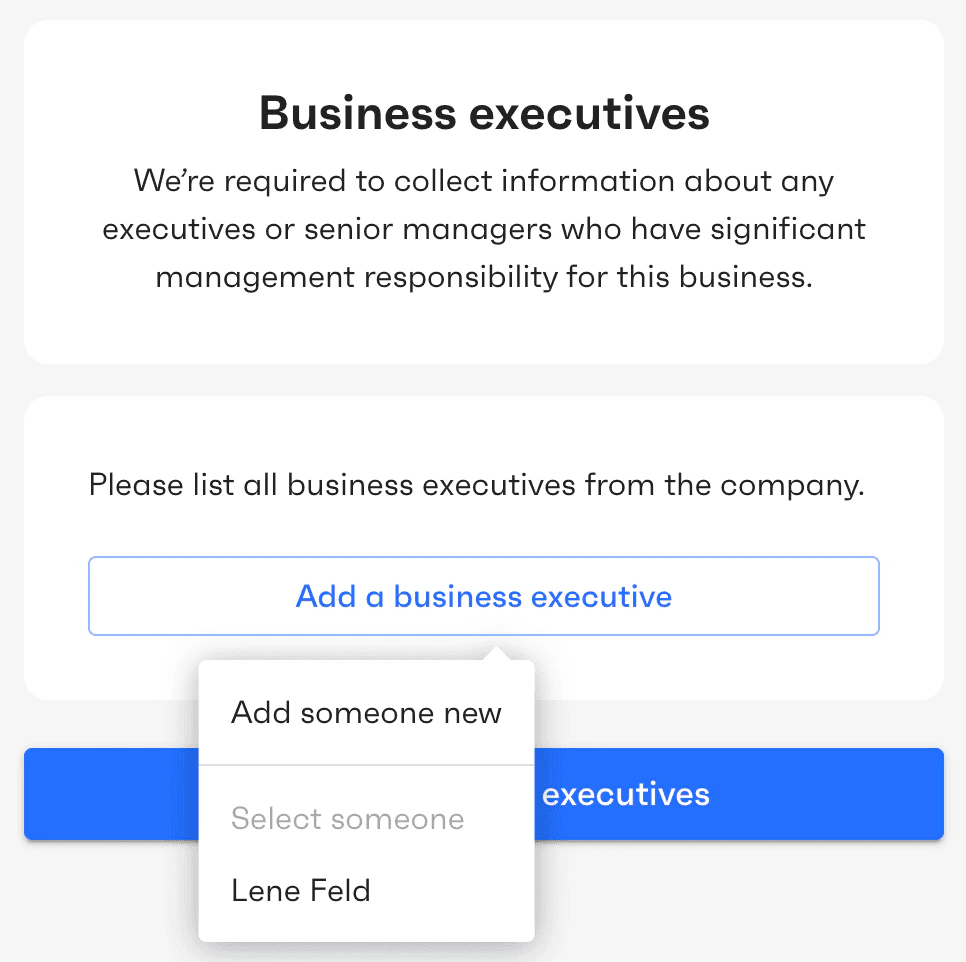
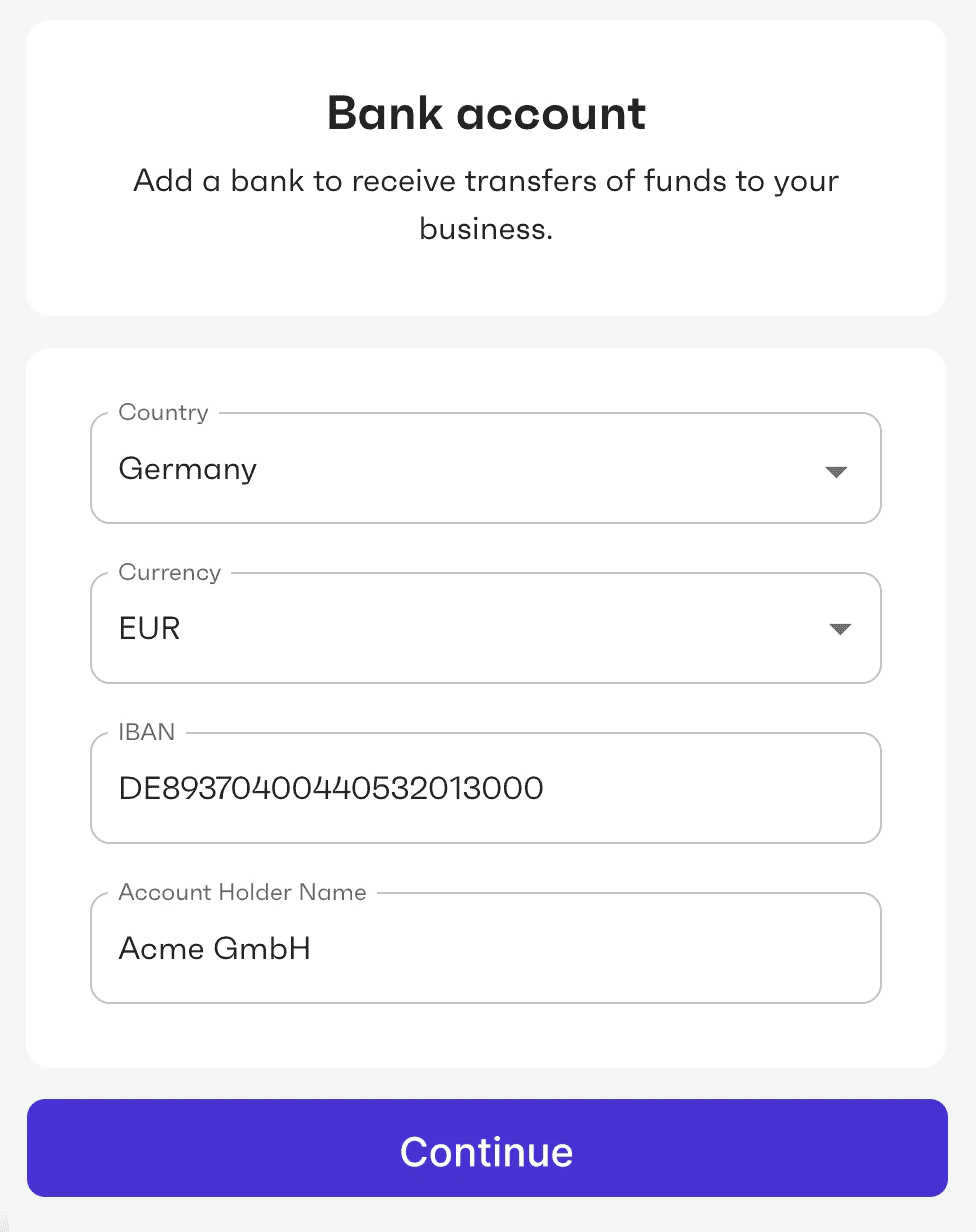
Bank account
On this screen, the user is asked to provide information about the bank account that the organization will use to make or accept payments. If the organization already has a bank account defined, the screen instead displays the details of that bank account so the user can review them and update if needed.Only USD bank accounts are supported for payments.
Terms and conditions
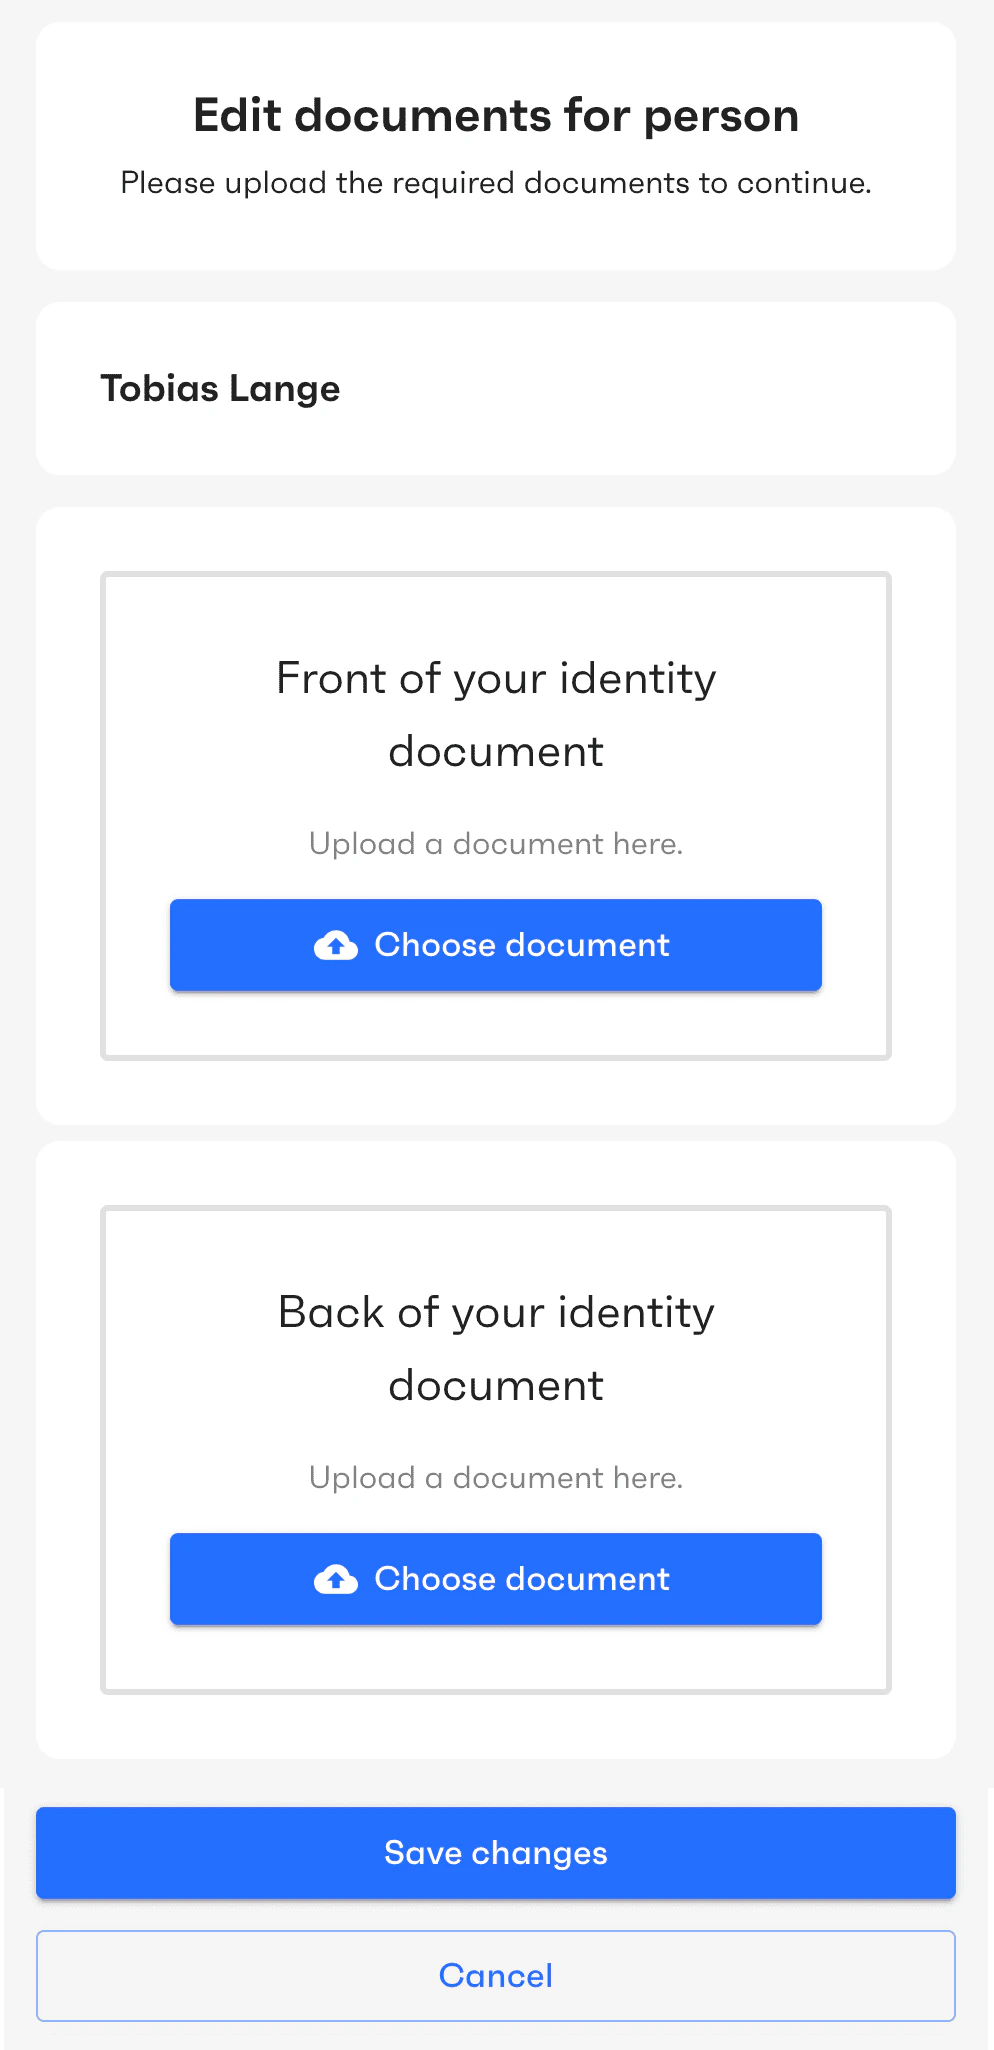
On this screen, the user is asked to accept the terms and conditions for using Tesouro payment rails.Upload documents
Depending on the organization type and country, the user may be required to provide scans of documents as proof of identity, address, and business registration. Some document types may require scans of both the front and back of the document.